Enabling Single Sign-On (SSO) Only with 101domain enhances security and simplifies account management by allowing users to authenticate through your organization’s trusted Identity Provider (IdP).
Whether you use Okta, OneLogin, Google Workspace, or Microsoft, this guide will walk you through the specific setup for enabling SSO Only Authentication.
This is an optional step and only relevant if you want to maintain the highest level of security access to your 101domain account.
How to Enforce SSO Only Authentication
-
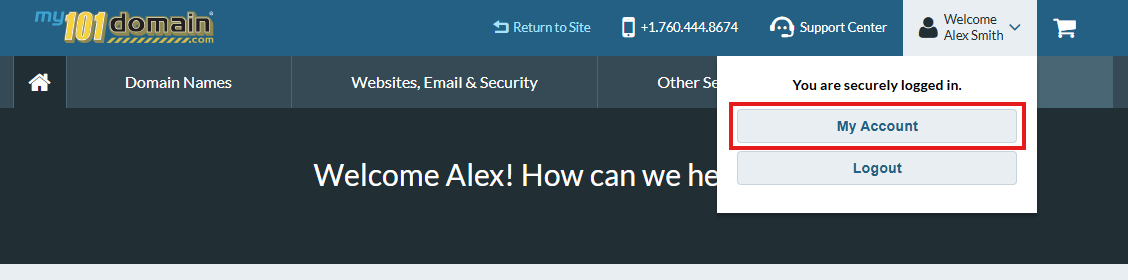
Login in to the 101domain account and navigate to the Welcome dropdown menu on the top right hand side and click on My Account .
-
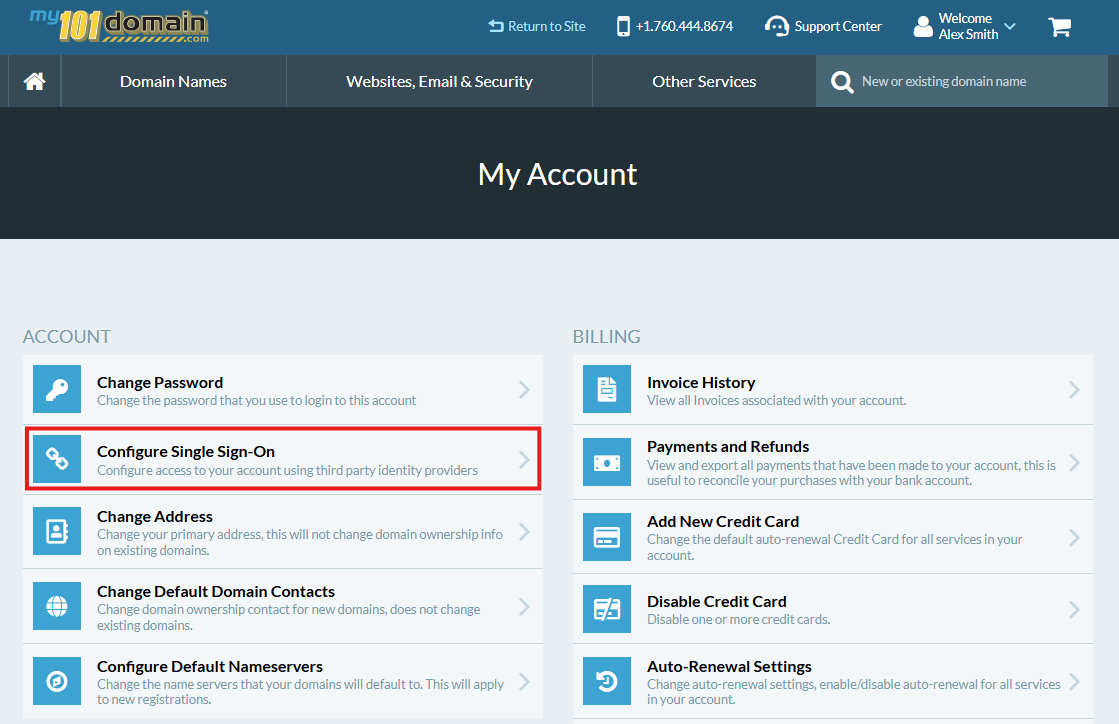
From the My Account menu, click on Configure Single Sign-On.
-
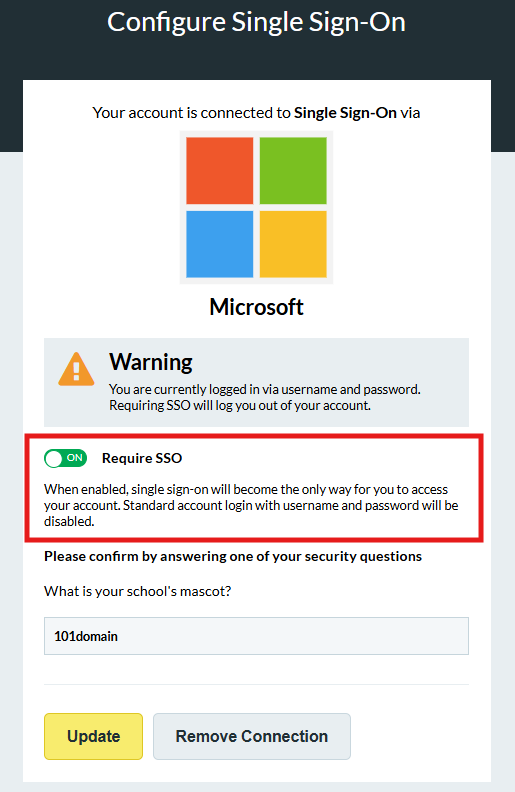
Enable the SSO Only authentication policy by toggling the ‘Require SSO' radio dial to On.
-
Enter the answer to your accounts Security Question and click on ‘Update’.
Choosing this option may log you out of your current user session. You will need to log back in with your chosen SSO provider.
For detailed instructions, refer to the ‘Accessing the SSO Configuration Panel' which includes further information on 'Choosing the Account Authentication Policy’ for your account.