This article guides the Primary Account Owner through initial setting up and linking of SSO with 101domain's preferred IdPs: Okta, OneLogin, Google Workspace, and Microsoft. Follow the relevant sections below to secure seamless authentication for your organization.
Okta and OneLogin OIDC Setup and Linking
This section is required for IdPs that require connection to an authentication server such as Okta and OneLogin.
Google Workspace and Microsoft do not require this initial set up. Navigate to the section 'Google and Microsoft Single Sign On Setup and Linking' in this article to see the setup steps.
In order to connect your Identity Provider to your 101domain account, the Primary Account Owner (PAO) must input the required parameters obtained from your organization’s IT team.
This generally means that 101domain must be added as an application and configured at your IdP prior to configuration in your 101domain account. Check with your IT department or read further in this guide for how to obtain this for your IdP.
The required parameters are:
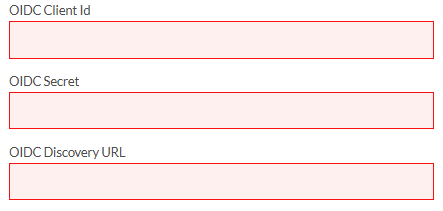
Following the entry of the configuration parameters, the PAO will be prompted to perform their first Single Sign-On login through your organization’s IdP. This action establishes the trust relationship between 101domain and your IdP and securely links your existing 101domain account to your organization's identity.
During this initial authentication flow, the user usually sees your IdP’s consent screen to allow 101domain access to the minimum required profile information — specifically user name and email address — necessary for account linking and management.
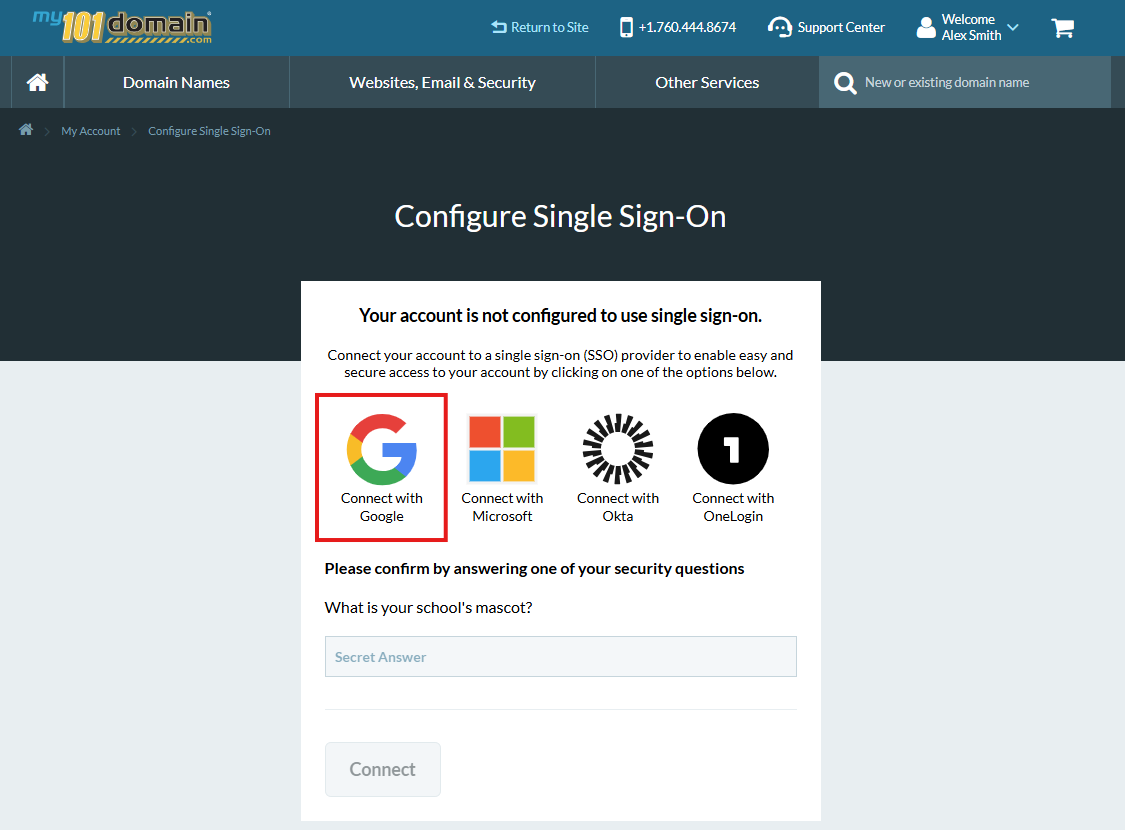
Google and Microsoft Single Sign On Setup and Linking
Google and Microsoft both follow a simple process which requires the PAO to select the IdP in the Configure Single-Sign-On screen, then continue to log in with their SSO Profile for the first time to enable it for their 101domain account.
There is no additional configuration needed for the initial authentication.
For detailed step by step instructions for your chosen IdP, please visit the specific configuration guide:
Once you have completed the configuration, follow on to Step 2: Choosing the Account Authentication Policy.