For cPanel systems (Paper Lantern Theme-Modern), generating a CSR is accomplished by the steps discussed in this article.
-
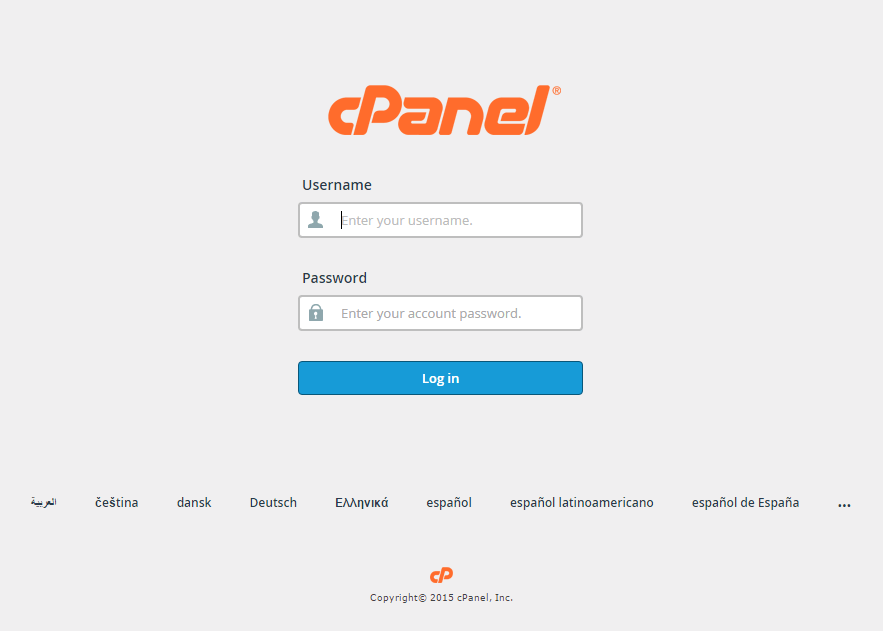
Log in to cPanel. Enter your Username/Password and click Log in.
-
Navigate to cPanel Home
Older versions such as X3 Theme-Classic may not look like the image above, but should still contain the same concept and category structure.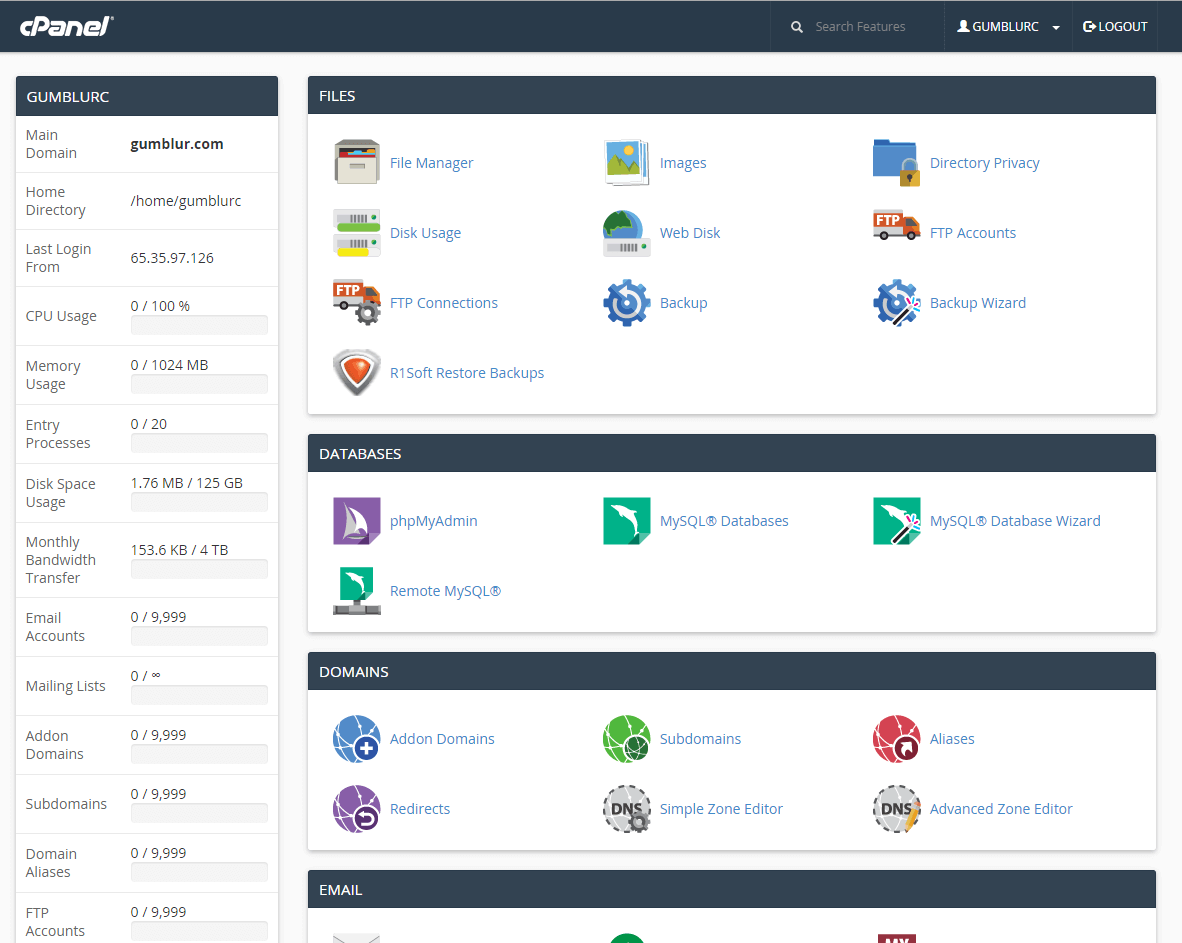
-
Navigate to the SSL/TLS Manager by scrolling down to the Security section and select the SSL/TLS button.
You can also navigate to the SSL/TLS Manager page by utilizing the Search Feature at the top right of the cPanel home page and searching “SSL”.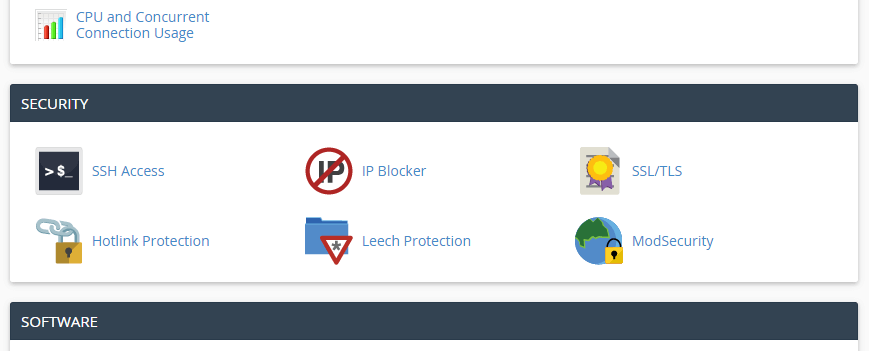
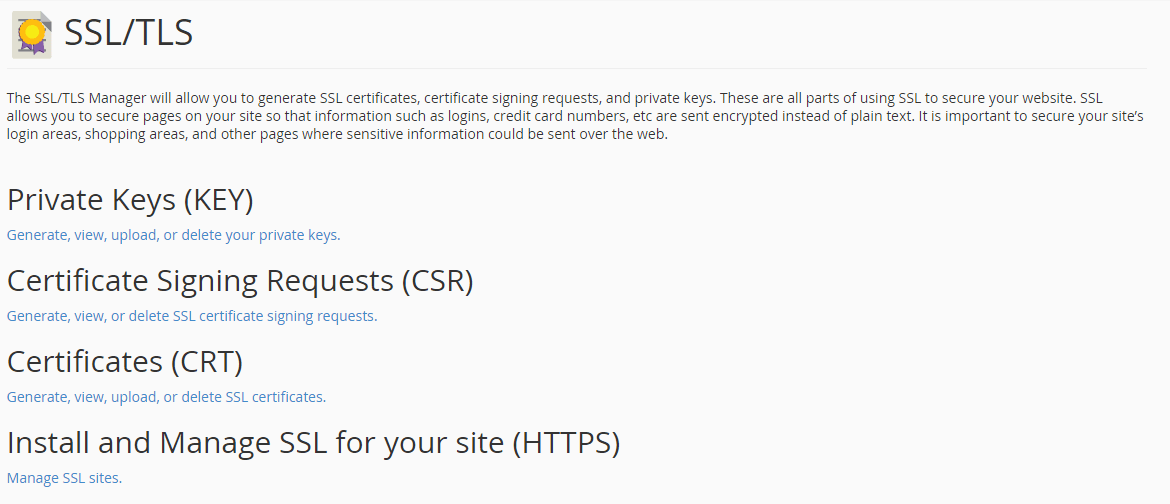
Your SSL/TLS Manager page will allow you to manage everything related to SSL/TLS configuration for cPanel.
-
Select Generate View, Upload, or Delete SSL Certificate Signing Requests
Fill out the Request Form and click Create.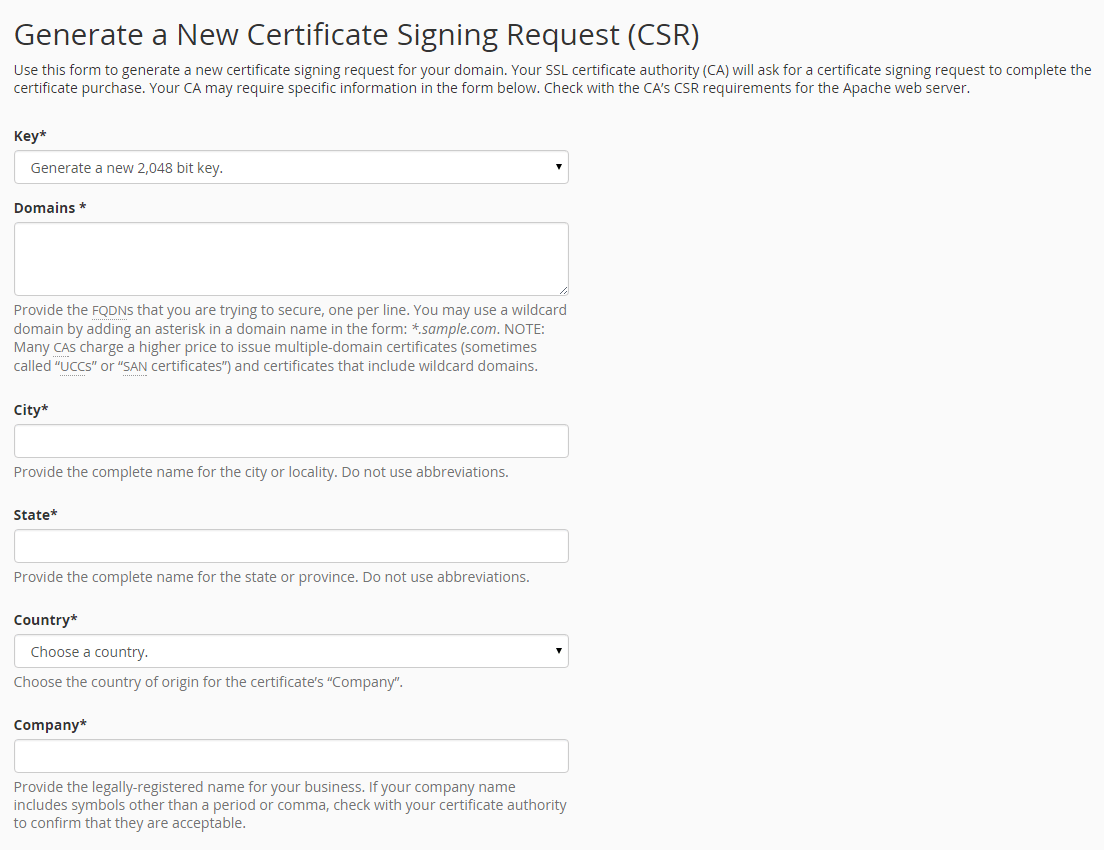
By default, cPanel will automatically generate the corresponding private key if “Generate a new 2,048 bit key” is selected as the Key option. If you already have a private key created that you wish to use, select the Key dropdown and select the appropriate option.
cPanel does not require a passphrase for your CSR, but does recommend inputting a description such as “CSR for Domain Names, Site Builder, Hosting, and More | Domain.com 9/13/2016” that helps distinguish this CSR going forward.
To avoid common mistakes when filling out your CSR details, reference our Overview of Certificate Signing Request article.
-
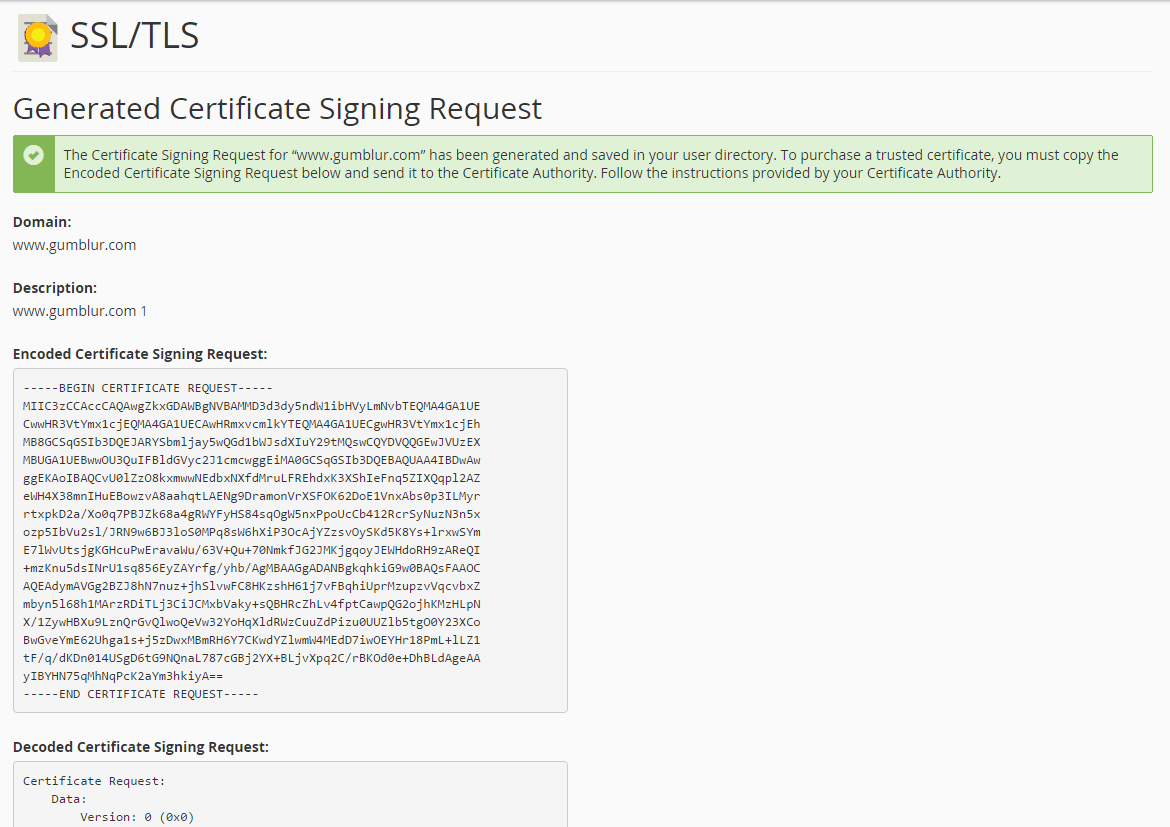
Upload Your CSR
Congratulations, you have created a CSR and automatically saved it in your user directory.Click into the Encoded Certificate Signing Request text box that’s presented after generation, and copy all of the text including:
-----BEGIN CERTIFICATE REQUEST-----
And
After you have received your CSR, return to your 101domain account and upload your CSR or paste in your CSR code.