This article explains how to set up, back up, and restore a Plesk Hosting subscription/account to Amazon S3.
Set Up Instructions
-
Create an Amazon Web Services account if you do not already have one.
-
Click the Backup & Restore option on the right-hand side of the hosting panel.

-
Select Amazon S3 Backup.
-
Select Remote Storage Settings.

-
The configuration screen requires specific information from your AWS account:

-
Keep the “I will use the root account credentials (will not be stored)” default option selected
-
Log in to your AWS account and go to Account, then Security Credentials, and copy the Access key ID and the Secret access key of the AWS account root user. You will need to create one if you do not already have one.

-
Go back to your Plesk panel and paste the ID and secret into the IAM User Access Key ID and IAM User Access Key Secret fields respectively.
-
Provide the name of the S3 bucket where your backups will be stored. You can use an existing bucket in your AWS account. You can also have the extension automatically generate one for you (if you do, AWS does not recommend changing the bucket’s name).
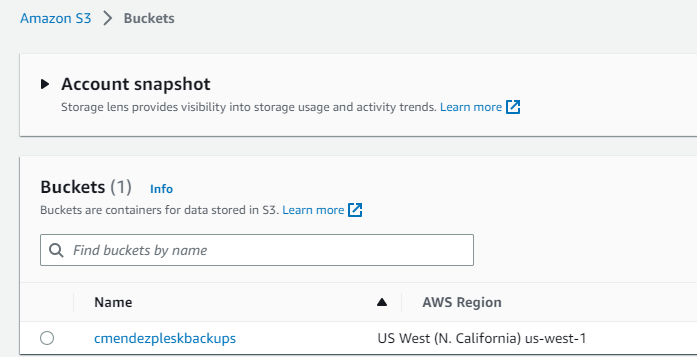
Click here to learn more about AWS buckets
-
To store backups in a specific folder inside the bucket, type the folder’s name into the Path field. To store backups in the bucket’s root, type “/” into the Path field.
-
Click OK to save the configuration.
-
Back Up Instructions
-
Now that your backup method is configured, you can proceed with backing up your Plesk subscription. In the hosting panel, click Websites & Domains, and select the Backup Manager.

-
Select Back Up or Schedule.

-
There are two options for backing up using the Backup Manager:
-
The Back up option performs a one-time backup of the subscription. At a minimum, you will need to select the Type of backup (either Full or Incremental). The are other options that can be customized if desired.
Hit OK to start the backup process.

-
The Schedule option creates a recurring scheduled backup. You will need to check the box to Activate this backup task and specify the frequency, type of backup, and scheduled time to run the process.
Hit Apply to schedule the recurring backup.

-
-
Once a backup has run, you can check the status from the Backup Manager. You should also see an accompanying .tar file created in your S3 bucket.

Restore Process
-
From the Backup Manager, click on the backup you would like to restore data from.

-
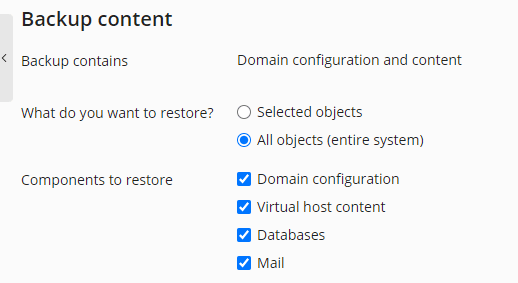
You can choose to restore Selected Objects or All Objects.
-
The Selected Objects option will restore email, databases, websites, or specific files.
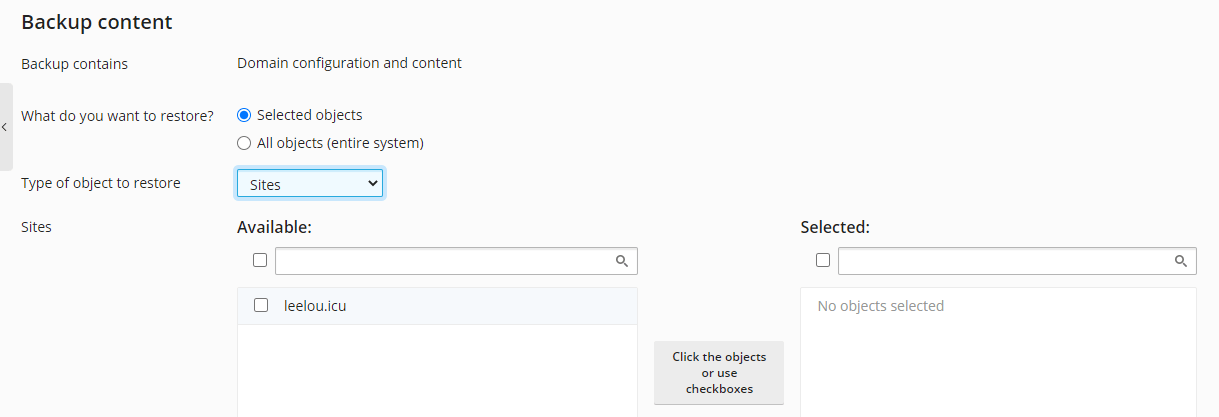
-
The All Objects option will restore all data from the backup.
-
-
Click Restore to start the restoration process. You will receive a confirmation once it has been completed.