This page provides step-by-step instructions for adding new sub-users to your 101domain account when Single Sign-On (SSO) is enabled.
Follow the process below to ensure a smooth onboarding experience for your organizations sub-users. If you need additional assistance, helpful resources are also linked throughout the guide.
Steps for Onboarding New Sub-User account with SSO enabled
-
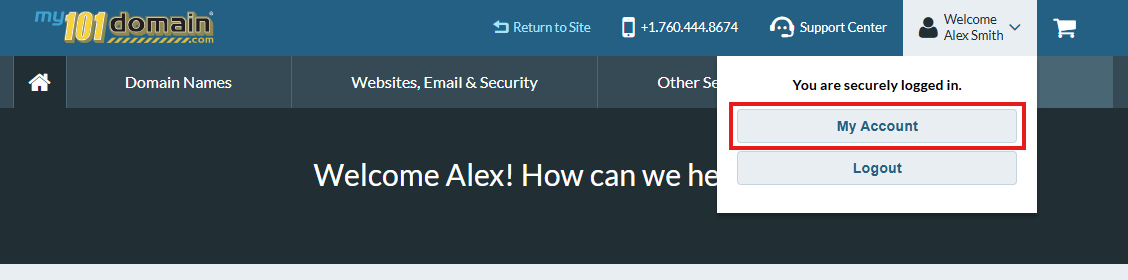
Navigate to the Welcome dropdown menu on the top right hand side and click on My Account .
-
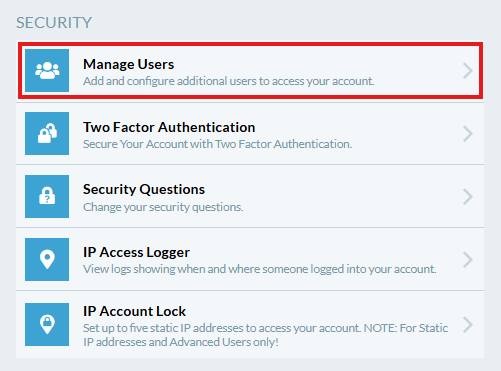
In My Account, scroll down to Security and click on Manage Users.
-
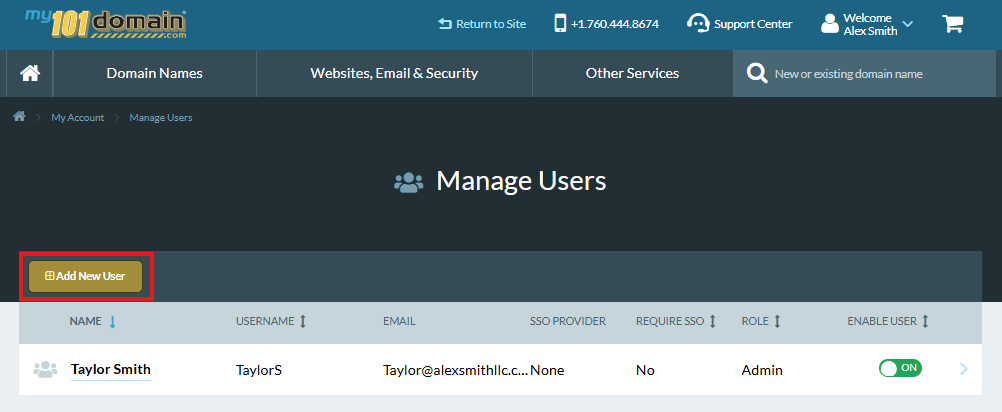
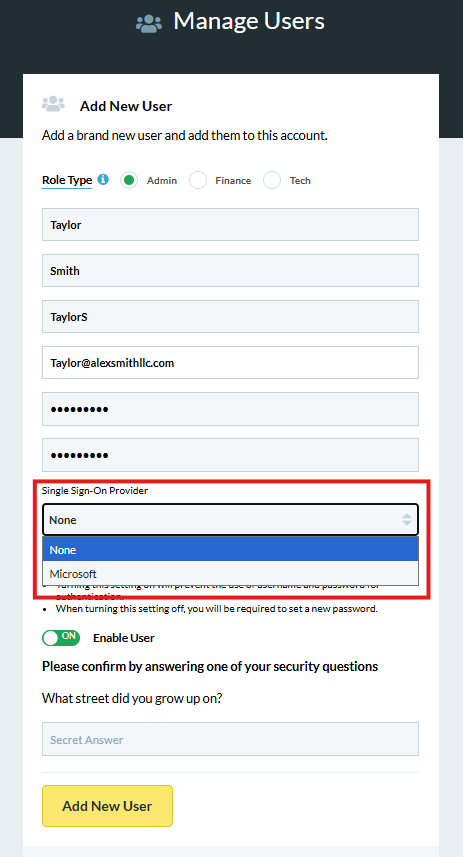
Click on the Add New User button.
-
Complete the required fields using the individuals allocated organization email address. This will need to be an email address using the same IdP.
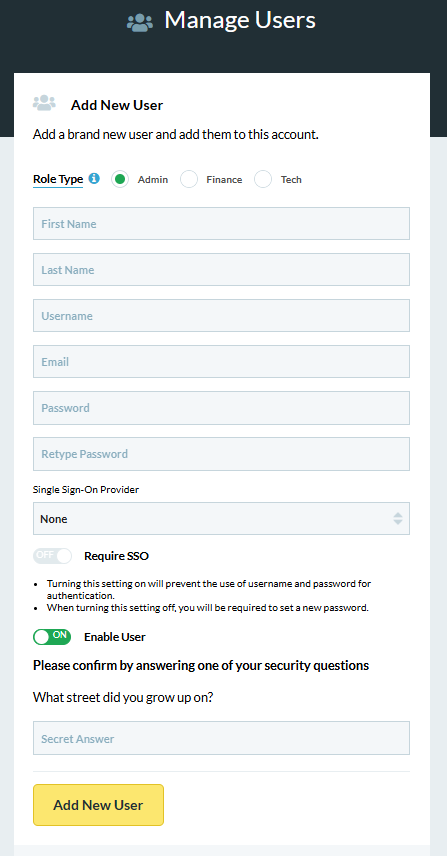
To learn more about the role types, visit our page on User Roles to ensure you assign the right role for the right individual.
-
Click on the Single Sign-On Provider dropdown. It will already be preset to None. Select the configured IdP and click on Add New User.
-
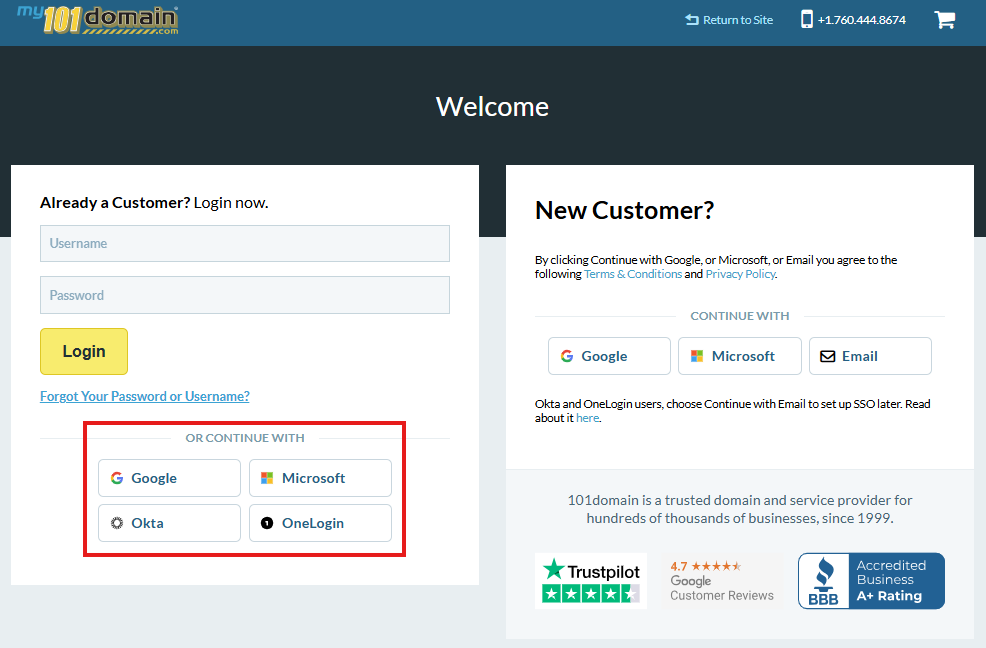
The sub-user can now sign into their 101domain account using their SSO credentials by clicking on the icon for the organizations chosen IdP.
Need further help with creating sub-users? Visit our article Setup an Account User.