Install and configure an "Under Construction" page in Wordpress using one of two methods: a simple setup and configuration method, or an advanced method that offers more configuration options.
Simple method
This Under Construction page is simple to install and configure via WordPress but offers few options to add to the template.
Steps
-
Install WordPress. See KBA: Installing Wordpress
-
In the Plesk Panel, click WordPress
-
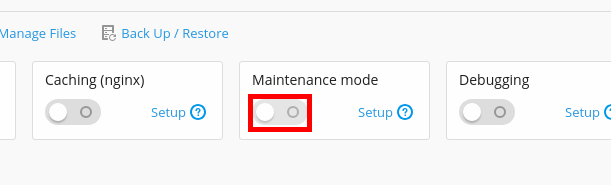
Under the site in question, click the radio button to enable Maintenance Mode
-
The default Maintenance Mode looks like this

-
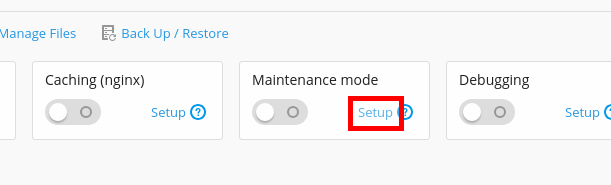
To change options, click the Setup link under Maintenance Mode
-
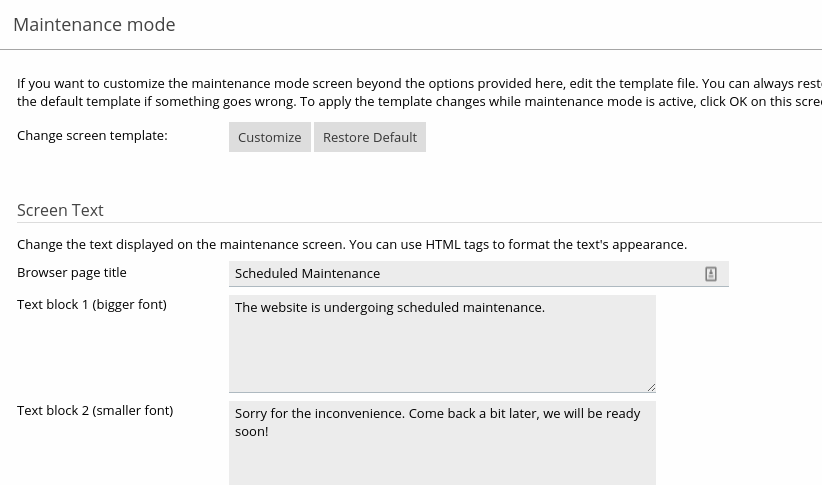
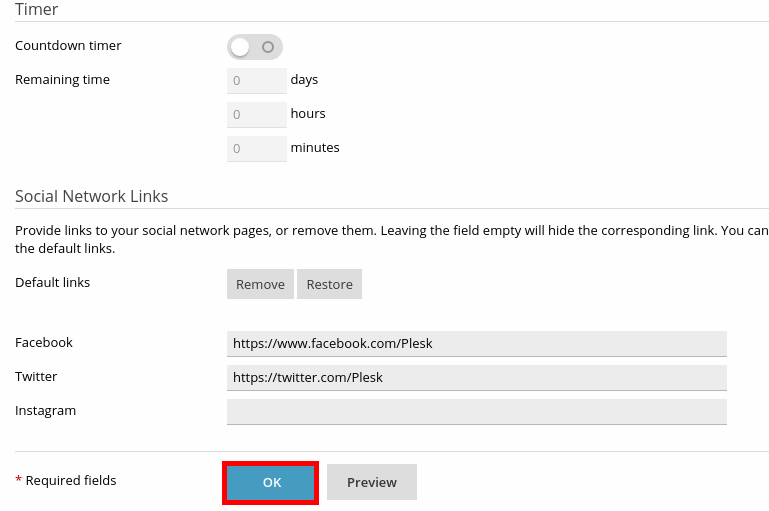
Here are the options that can be configured
-
Click the OK button when finished
Advanced method
This method uses a default open source Under Construction page. While it is more complicated to install, it does offer more configurable options.
Steps
-
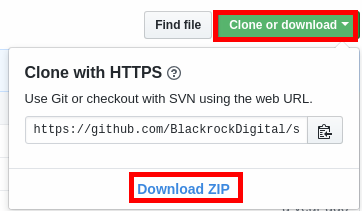
Go to the BlackrockDigital GitHub website
-
Click the Clone or download button, then click on the Download Zip
-
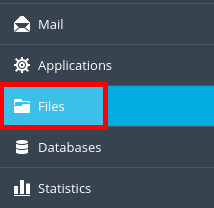
In your Plesk Panel click on the Files button
-
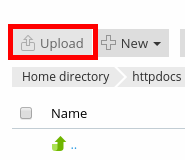
Click the Upload button and upload the startbootstrap-coming-soon zip file
-
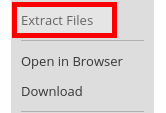
In the Plesk File Manager, select the file and click Extract Files
-
Extract the files into the current directory

-
Enter the startbootstrap-coming-soon-master directory

-
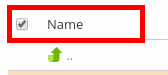
Select all of the files by clicking the checkbox next to Name
-
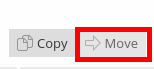
Click the Move button
-
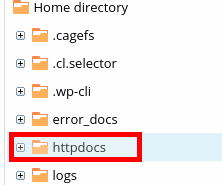
Select the directory where your website resides (httpdocs in most cases)
-
Click the up arrow to go up to that directory

-
Select the folder and the zip file that contained the files
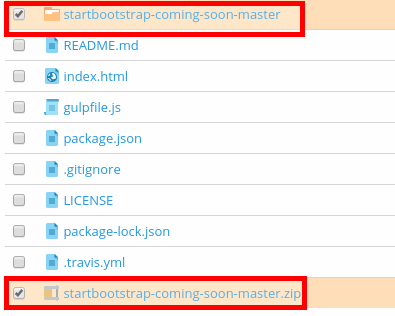
-
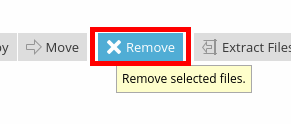
Click the Remove button to delete those file/folders
-
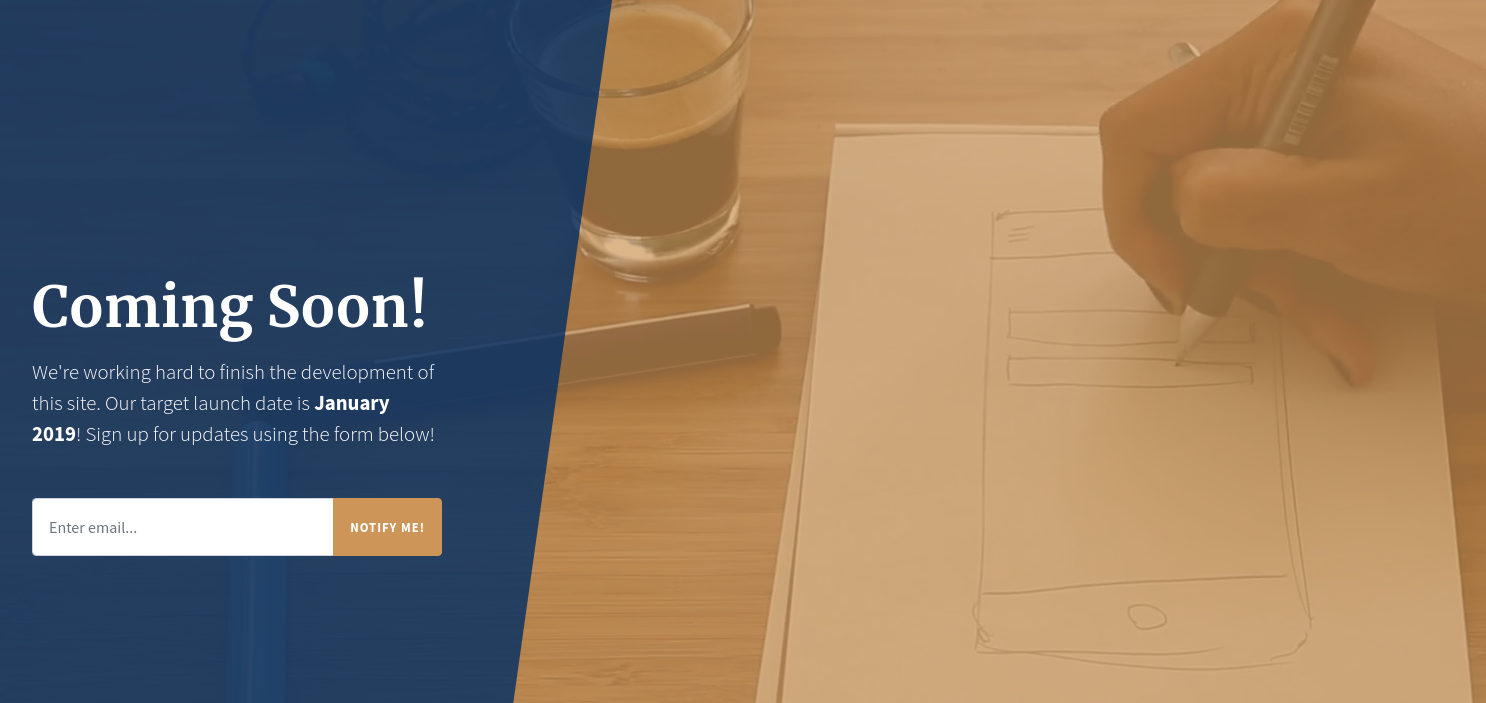
This is the default option for the Under Construction page
-
In the Plesk File Manager, you can edit the index.html to change options

-
Be sure to click the OK button to commit your changes