How to Generate a CSR for Plesk v.11, 12, & 12.5, our current hosting platform
NOTES
-
If you are using our hosting solutions and purchase SSL, this process should be automated
-
The two exceptions to this are:
-
You have purchased a Premium EV SSL with us
-
You have purchased an SSL certificate with another vendor
-
1. Login to your account and click on the Websites, Email & Security tab

2. Click on the Launch button next to your Hosting product
In the Power User View, click Websites & Domains in the top navigation menu.

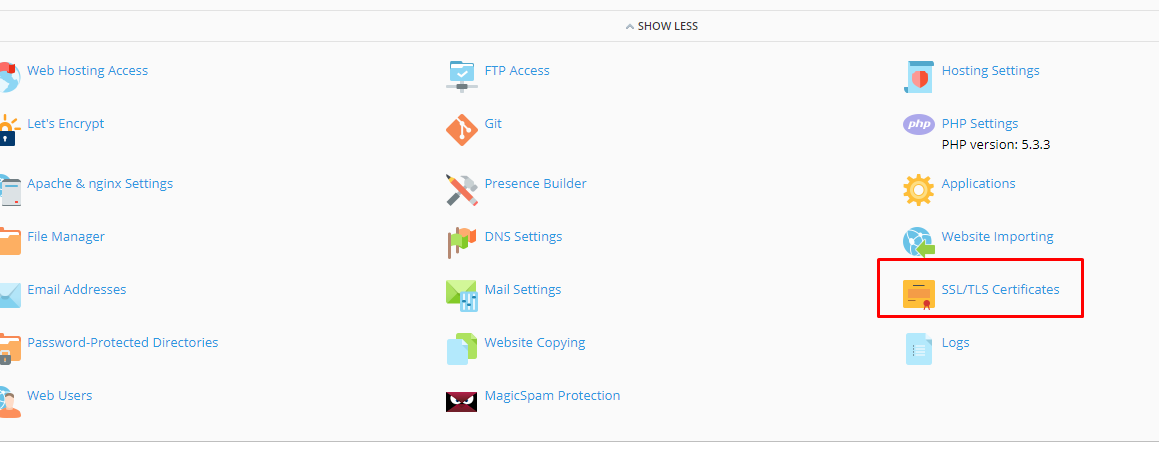
3. Select SSL/TLS Certificates
Navigate to the correct Domain Name by scrolling down and click Show More if you do not see your domain.
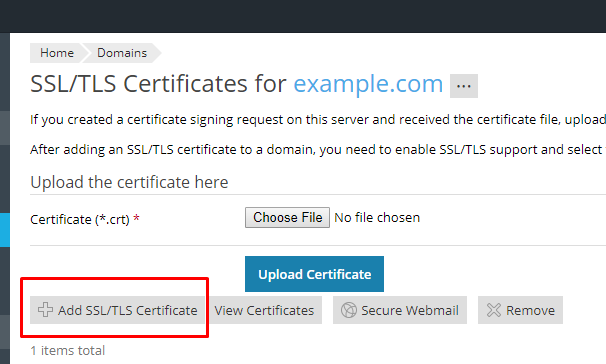
4. Select Add SSL Certificate
5. Enter a Friendly Name
Enter a Certificate Name which is a friendly name for your internal reference only; it’s not a part of your actual SSL certificate.
A good naming format is “Domain Name (Years of Validity)”, which helps you easily identify the certificate in your control panel and when it expires.
6. Request CSR
Scroll down and enter the remaining CSR details and then click Request.
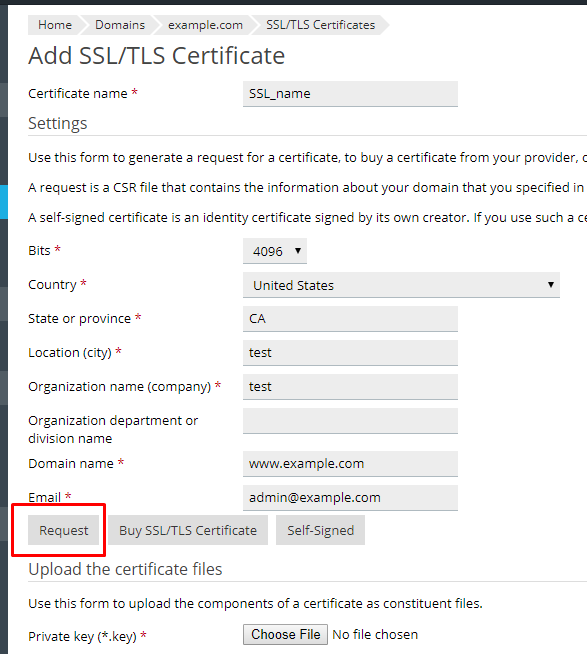
To avoid common mistakes when filling out your CSR details, reference our Overview of Certificate Signing Request knowledge base article.
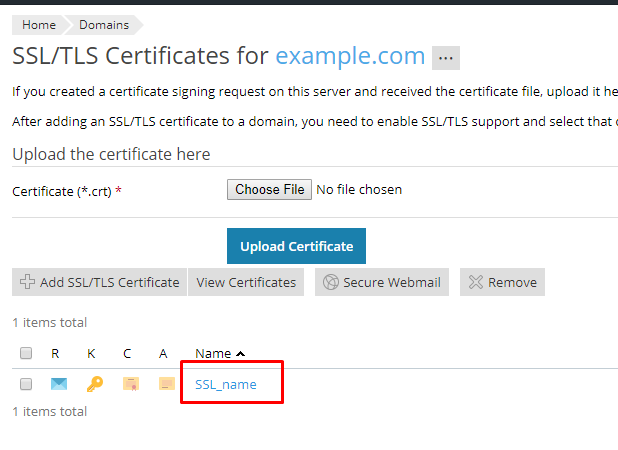
7. Collect CSR
Click View Certificate to view your CSR or select the Certificate Name to download the file to your computer.
8. Upload the CSR
Locate and open the newly created CSR from the specified location you choose in a text editor such as Notepad and copy all the text including:
-----BEGIN CERTIFICATE REQUEST-----
And
-----END CERTIFICATE REQUEST-----
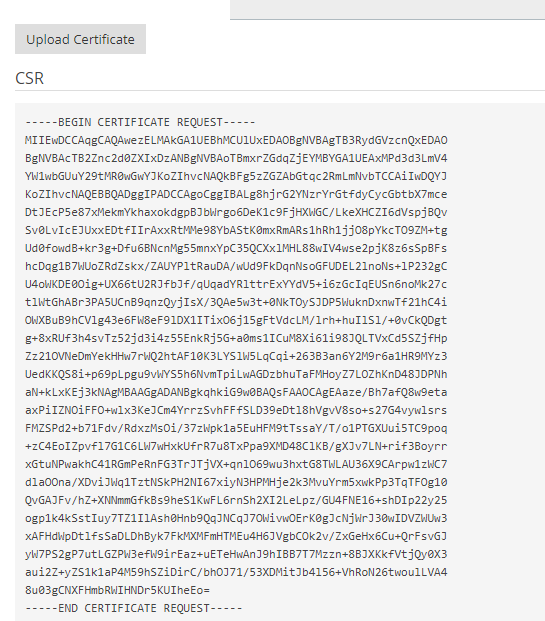
After you have received your CSR, return to your 101domain account and upload your CSR or paste in your CSR code.
How to Generate a CSR for Plesk v.11, 12, & 12.5, our current hosting platform