How to Generate a CSR for Mac OS X El Capitan (v.10.11)
1. Launch the Mac OS X El Capitan (v.10.11) Server App
2. Navigate to the Server Settings
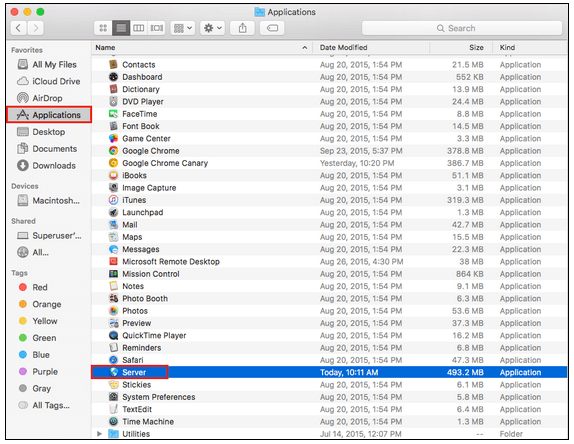
From the Finder window, under Favorites, select Applications and then Server.
3. Determine Where Certificate will be Installed
From the Finder window, under Favorites, select Applications and then Server.
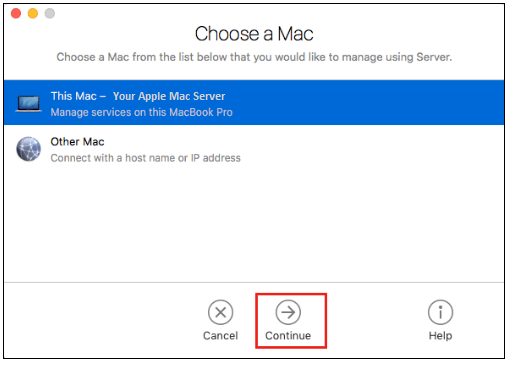
From the Server App window, under Choose a Mac, select one of the following options to determine where to create the CSR and install the SSL certificate once issued.
To make a CSR on the current server:
-
Click This Mac – YourServerName and click Continue.
-
Enter the Administrator Name and Password and click Allow.
To make a CSR on another server:
-
Click Other Mac – YourOtherServerName and click Continue.
4. Enter Your Host Name and IP Address
5. Enter the Administrator Name and Password and Click Allow
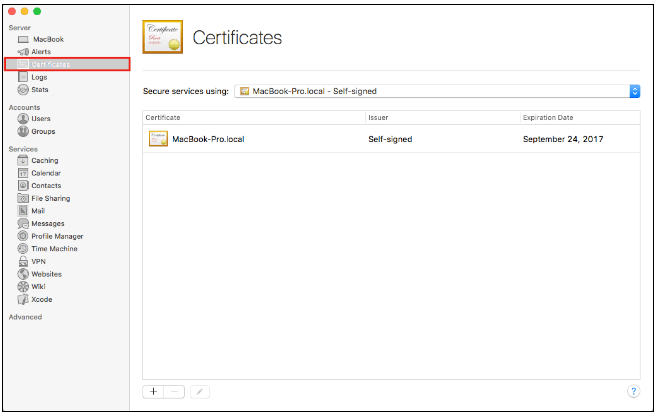
6. From the Server App Window, Under Server, Click Certificates
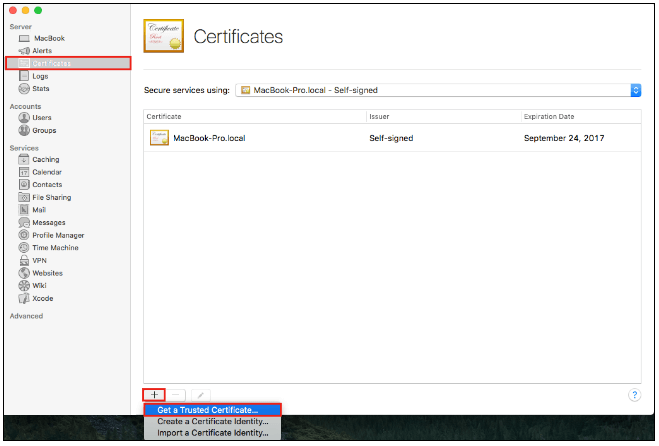
7. In the Certificates Page, Click + (at the bottom) and Select Get a Trusted Certificate...
8. Click Next on the Get a Trusted Certificate Page
9. Enter CSR Details
Enter your CSR details and click Next.
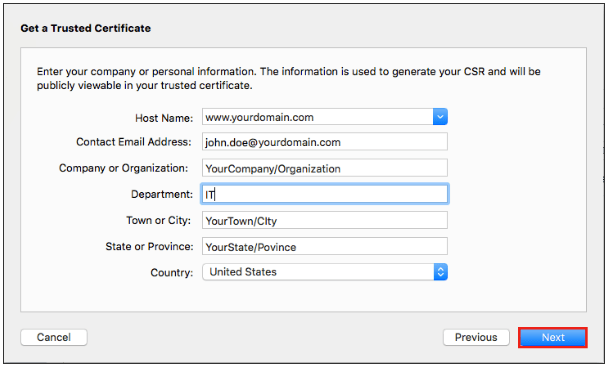
To avoid common mistakes when filling out your CSR details, reference our Overview of Certificate Signing Request knowledge base article.
10. Click Save and then Finish
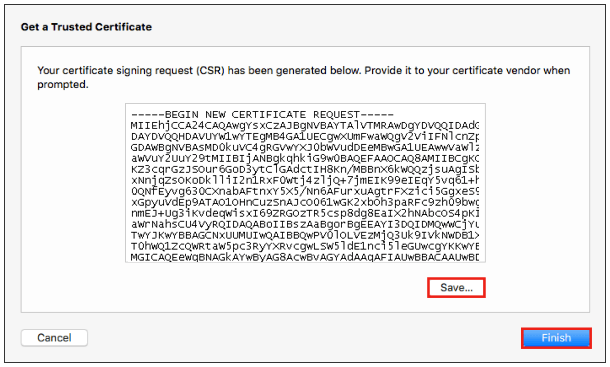
Make sure you remember the filename and file path where the CSR was saved.
11. Upload Your CSR
Locate and open the newly created CSR from the specified location you choose in a text editor such as Notepad and copy all the text including:
-----BEGIN CERTIFICATE REQUEST-----
And
-----END CERTIFICATE REQUEST-----
After you have received your CSR, return to your 101domain account and upload your CSR or paste in your CSR code.